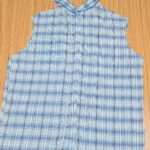
A how to guide to make dignity clothing protectors
You will need
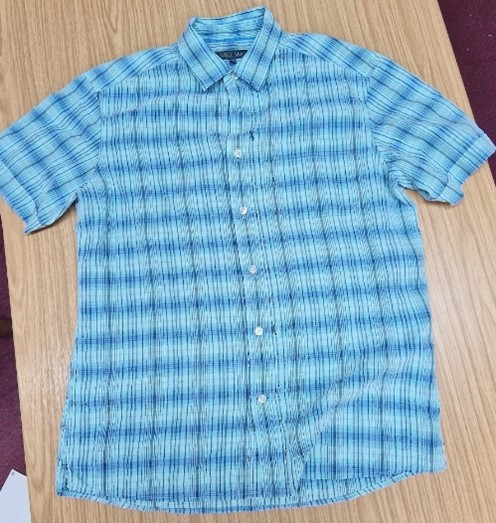
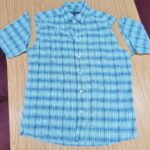
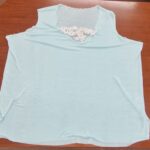
1 x old shirt / top / top garment
1 x square of waterproof backed bed sheet liner 80cm x 40cm (dependant on the size of the shirt)
Sewing machine ideally or needle and thread
Velcro tabs for larger protectors
Method
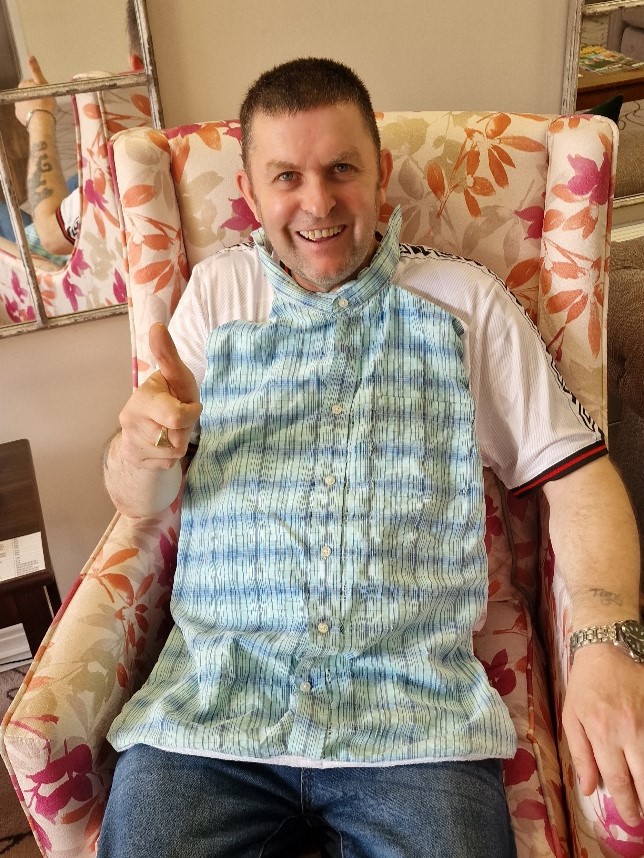
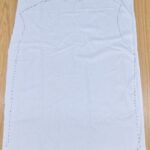
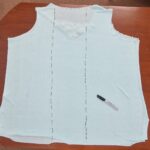
- Lay out the top garment on a table and cut the arms off the shirt at the join on the armpit on both sides.
2. Cut the collar at the back in the central the way down to the bottom of the garment as illustrated
3. cut along the seem on each side of the back to remove the back but keep this for later
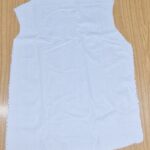
4. Lay the waterproof backed bed sheet liner on a table and lay the garment face up over it, mark around the garment on the sheet to form a template to cut
5. Cut around the lines marked
6. sew the back sheet with the waterproof side to the inside of the garment leaving the fluffy soft side to face backwards all the way around including inside the collar.

7. Cut 2 strips from the old back garment material to make ties to do up when the garment is on
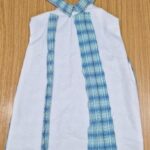
8. Sew them into the ends of the cut collar and your all ready to go!


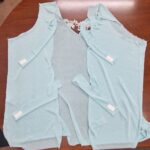
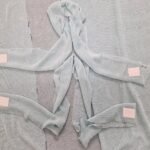
For our larger guests the concept is the same but we leave the sides of the garment intact and cut into the back section as pictured below.
by cutting much further into the back section of the garment, this gives much more width to the garment allowing for an individuals needs
Cut the removed back section into two long strips and attach Velcro to the ends of the strips, we found ties can be uncomfortable behind when seated but Velcro is much more comfortable for individuals. Cut the strips in half and then attach to each side with hooks of Velcro one side and the fluffy side to the other.
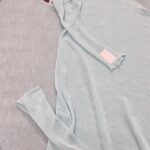
Then simply line the garment with the waterproof lining in the same way as before.